Time:2025-09-26
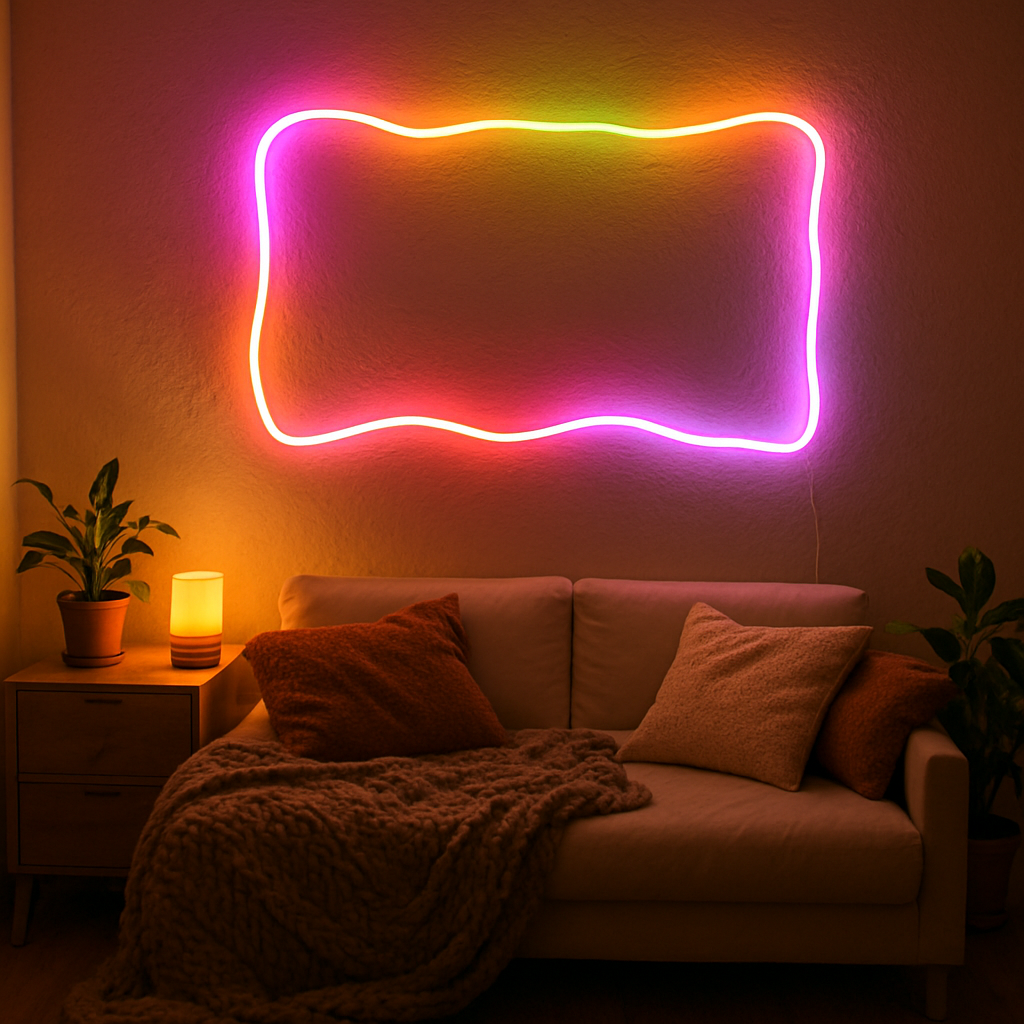
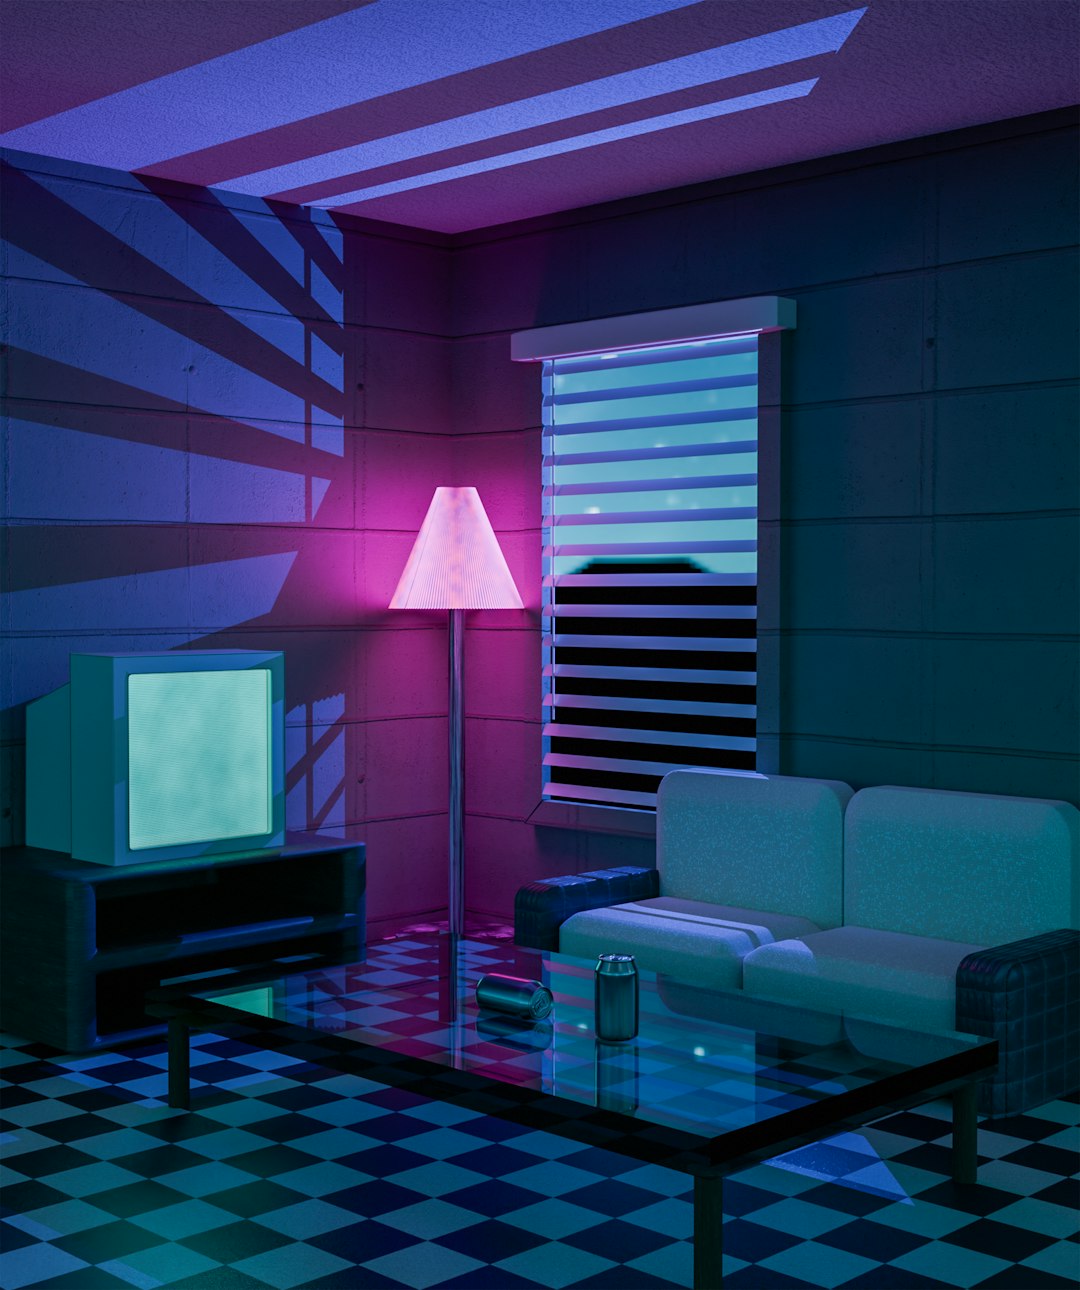
Neon lights are no longer confined to flashy signs outside diners and bars. Today, they're a trendy home decor element, offering a pop of color and a futuristic vibe to any space. If you're looking to add a unique touch to your home without breaking the bank, DIY separated neon strip lighting is the way to go. In this guide, we'll explore how to create your own neon lights, share some inspiring neon lighting ideas, and provide step-by-step instructions to bring your vision to life.
DIY neon strip lighting is an affordable and customizable way to add personality to your space. Unlike traditional neon signs, which can be expensive and hard to install, neon strip lights are flexible, easy to work with, and available in a wide range of colors. Whether you're looking to accentuate a room, create a focal point, or simply add ambiance, neon strips can do it all.
Affordability: Neon strips are cost-effective, offering a budget-friendly alternative to traditional neon signs.
Flexibility: These lights are bendable, allowing you to create any shape or design.
Ease of Installation: With adhesive backing, neon strips can be easily attached to most surfaces.
Energy Efficiency: LED neon strips consume less energy compared to older neon technologies.
Variety of Colors: Available in a spectrum of colors, you can select hues that match your decor.

Before diving into the DIY process, it's helpful to have a few ideas in mind for how to use your neon strip lights. Here are some popular neon lighting ideas to get your creative juices flowing:
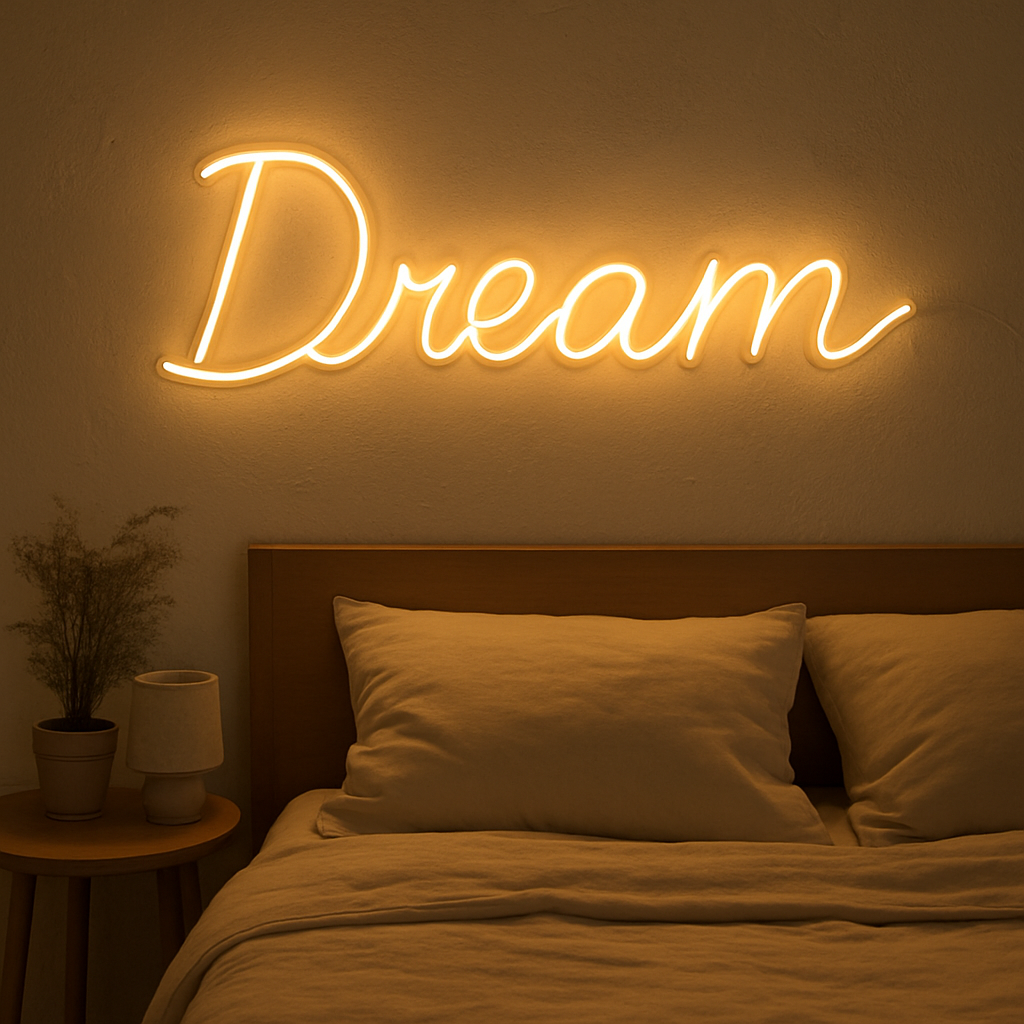
Wall Art: Craft inspiring quotes or abstract designs to adorn your walls.
Accent Furniture: Highlight the edges of tables, bookshelves, or mirrors.
Ceiling Decor: Install neon strips along ceiling moldings for a unique glow.
Room Dividers: Use neon strips on room dividers for a dynamic partition.
Shelving: Illuminate shelves to showcase your favorite collectibles.
Signage: Create personalized signs for home bars, game rooms, or kids' rooms.

Ready to create your own neon masterpiece? Follow these steps to get started:
Materials You’ll Need
LED neon strip lights (color of your choice)
Power supply with plug
Scissors
Measuring tape
Adhesive tape or mounting clips
Heat shrink tubing (optional for a cleaner look)
Marker
Plan Your Design:Use a marker to sketch your design on a piece of paper. Consider the dimensions and where you will place the neon strip.Measure the area where you plan to install the neon strip and cut the strip to the desired length.
Prepare the Strips:Cut the LED neon strip according to your design. Remember, some strips can only be cut at specific intervals, so check the manufacturer's instructions.If you're creating a word or intricate shape, cut multiple strips accordingly.
Connect the Power Supply:Attach the power supply to one end of the neon strip. Follow the instructions provided with your LED strip to ensure a secure connection.Optionally, use heat shrink tubing to cover the connection for a neat finish.
Position the Strips:Peel off the adhesive backing from the strip and carefully place it along your design on the wall or surface.For more complex designs, use mounting clips to secure the strip in place.
Test the Lights:Once everything is in place, plug in the power supply and test the lights. Make any necessary adjustments to ensure the strips are securely attached and displaying correctly.
Final Touches:Double-check that all connections are secure and the lights are functioning as expected.Turn off the lights in the room to fully appreciate your new neon setup!
While working with neon strip lights is generally safe, keep these tips in mind:
Always follow the manufacturer's instructions, especially regarding cutting and connecting the strips.
Ensure that your power supply matches the voltage and wattage requirements of your LED strips.
Use caution when working with electricity, and consult a professional if you're uncertain about any part of the installation process.

DIY neon strip lighting is a fun and creative way to personalize your space. Whether you're enhancing a bedroom, living room, or workspace, the possibilities are endless. By following the steps outlined above, you can craft a custom neon design that reflects your personality and style.
So, why wait? Gather your materials, unleash your creativity, and transform your home with the vibrant glow of DIY neon lights!