Time:2025-07-10
The Synergy of DIY Culture and Accessible Lighting Technology
In an age where personal expression through hands-on projects defines modern lifestyles, easy-install cuttable neon strips have emerged as a cornerstone of DIY lighting design. These innovative fixtures blend the timeless allure of neon illumination with user-centric engineering, enabling anyone—from novice hobbyists to seasoned creators—to craft professional-grade lighting solutions without specialized tools or technical expertise. The ability to effortlessly cut strips to custom lengths, combined with intuitive connection systems, has democratized access to high-impact lighting design, transforming spaces in homes, businesses, and creative projects with unprecedented ease.
This comprehensive guide explores the technical innovations, practical advantages, and creative possibilities of cuttable neon strips designed for DIY setups, empowering readers to leverage these tools for safe, stunning, and personalized lighting installations.
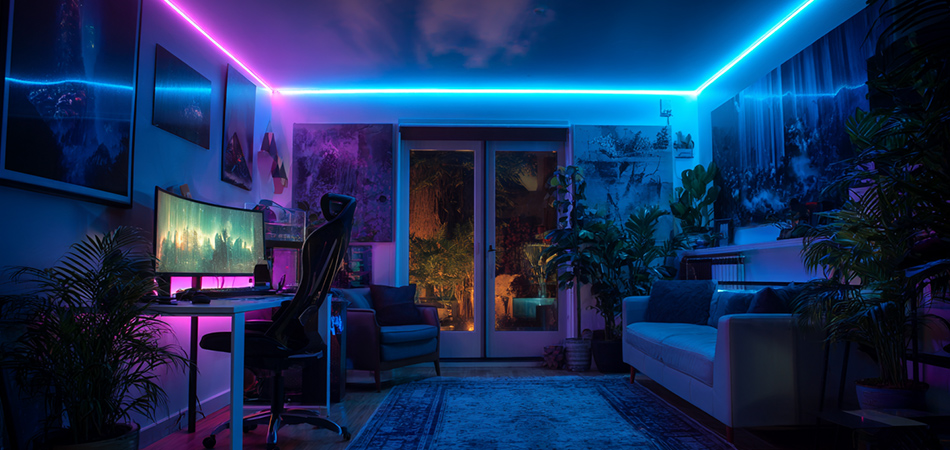
Technical Innovations Enabling DIY-Friendly Neon Strips
Core Design Principles for User Accessibility
Precision Cuttable Intervals
The defining feature of these strips is their factory-defined cut points, strategically placed at regular intervals (typically marked with symbols or dashed lines). These intervals align with the strip’s electrical circuitry, allowing users to trim the strip to exact lengths using household tools like scissors or utility knives. Unlike generic lighting products, these cut points ensure that each segment remains electrically functional, preserving uniform brightness and safety across all custom lengths.
Tool-Free Connection Systems
DIY-oriented neon strips prioritize simplicity with plug-and-play connectivity:
Snap-Fit Connectors: Spring-loaded or magnetic adapters that securely fasten to stripped strip ends, eliminating soldering or wiring complexity.
Adhesive Backing: High-strength, removable adhesive tape on the strip’s rear allows direct mounting on clean surfaces like walls, glass, or metal without drills or screws.
Modular Kits: Pre-packaged solutions including power supplies, extension cables, and corner connectors, enabling seamless assembly around curves, corners, or multi-segment designs.
Low-Voltage Safety Architecture
Operating at 12V or 24V DC, these strips adhere to safety standards that minimize electrical risks. This low voltage allows compatibility with accessible power sources like USB adapters, battery packs, or solar panels, making them suitable for indoor/outdoor use without professional electrical work. The design also reduces heat emission, ensuring safe contact with furniture, fabrics, or decorative elements.
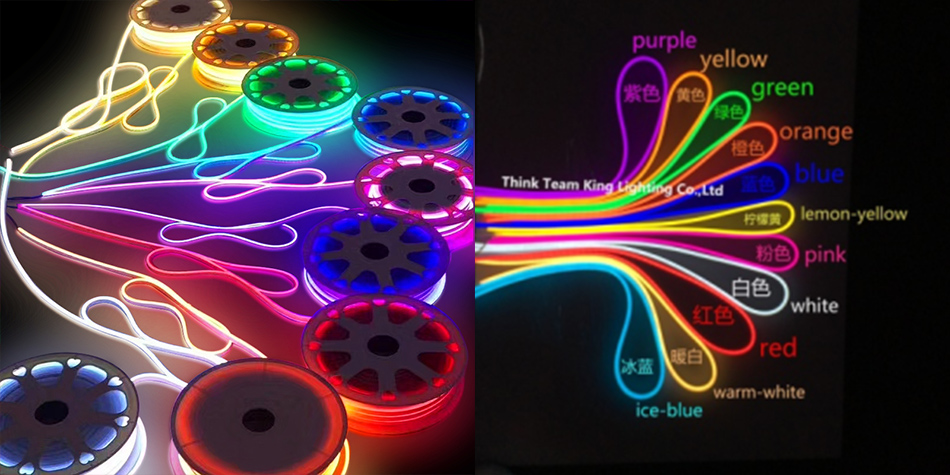
Key Types of Cuttable Neon Strips for DIY Projects
LED Neon Flex Strips: The Versatile Workhorse
Construction: Energy-efficient LEDs encased in flexible silicone or PVC, mimicking traditional neon’s soft glow while offering durability.
DIY Advantages:
Cut-to-Length Precision: Adjustable every few inches to fit shelves, cabinetry, or curved surfaces.
Weather Resistance: Many models feature IP65/IP67 ratings, with waterproof connectors for outdoor use in gardens, patios, or pool areas.
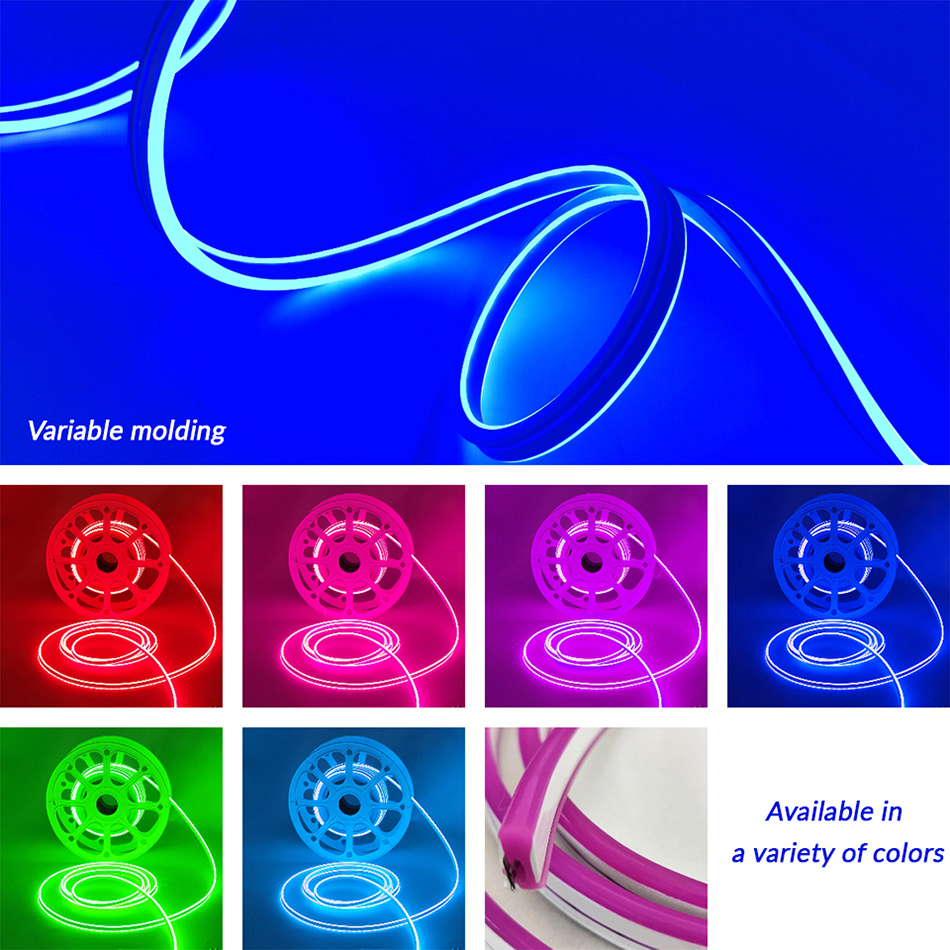
Color & Effect Options: RGB variants allow remote-controlled color changes and dimming, ideal for dynamic decor or event setups.
Ideal Applications: Home accent lighting, outdoor signage, and DIY projects requiring bendability and resilience.
Traditional Glass Neon Strips (DIY-Ready Editions)
Construction: Hand-bent glass tubes with pre-sealed cut points, filled with neon or argon gas for authentic retro illumination.
DIY Advantages:
Classic Aesthetic: Emits the warm, nostalgic glow of vintage neon, perfect for themed rooms or commercial displays.
Professional Finish: Pre-cuttable at marked intervals, though requiring caution with specialized cutting tools.
Considerations: Best for indoor use due to glass fragility; pairs well with acrylic backboards for secure mounting.
Miniature Cuttable Strips: For Detailed Creations
Construction: Ultra-slim profiles (5–10mm width) with flexible PCBs, ideal for intricate or space-constrained projects.
DIY Advantages:
Tight Radius Bending: Conforms to narrow spaces like bookshelf edges, picture frames, or jewelry displays.
Lightweight Design: Securely mounts with minimal adhesive, suitable for temporary or delicate installations.
Ideal Applications: Small crafts, model lighting, and interior design details requiring subtle illumination.
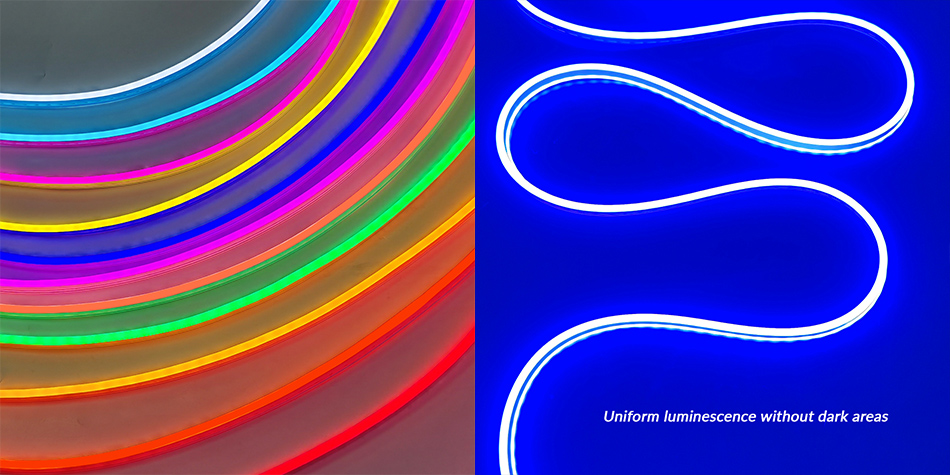
Unmatched Advantages for DIY Enthusiasts
Accessibility for All Skill Levels
No Electrical Expertise Needed: Pre-marked cut points and plug-and-play connectors eliminate the need for technical knowledge.
Comprehensive Guides: Manufacturers provide step-by-step manuals and video tutorials, ensuring success even for first-time users.
Unlimited Design Freedom
Customization at Scale: Trim strips to fit unique spaces, such as:
Curved bathroom mirrors
Geometric wall art installations
Irregular-shaped shelves in home offices
Modular Creativity: Mix colors, lengths, and effects to build dynamic displays, from gradient-lit bookshelves to synchronized holiday decorations.
Cost-Effective Solutions
Material Efficiency: Cut only what you need, reducing waste compared to fixed-length strips.
DIY Savings: Avoid installation fees by following intuitive guides, making professional-quality lighting affordable for budgets of all sizes.
Safety and Longevity
Child & Pet Safe: Low voltage and cool-to-the-touch surfaces minimize accident risks.
Durable Construction: Silicone-encased LED strips resist bending fatigue, while glass neon variants include protective coatings for indoor durability.
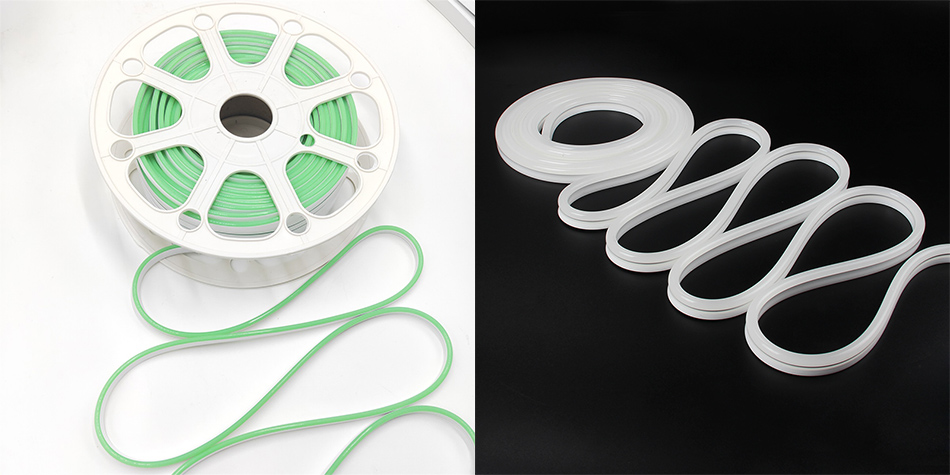
Step-by-Step DIY Installation Blueprint
Phase 1: Project Planning & Measurement
Assess the Space: Use a tape measure to determine the required strip length, adding 10% extra for testing and adjustments.
Surface Preparation: Clean the installation area with isopropyl alcohol to ensure adhesive effectiveness; avoid dusty, oily, or textured surfaces (use mounting clips for rough textures).
Design Sketch: Outline the layout on paper or using design software, noting corners, curves, or multi-segment connections.
Phase 2: Cutting & Preparing the Strip
Locate Cut Points: Identify the manufacturer’s marked intervals (e.g., every 3 inches) on the strip’s reverse side.
Precision Cutting: Use sharp scissors or a utility knife to trim at the designated points, ensuring a straight cut without fraying the edges.
Expose Contacts: For LED strips, gently peel back the 绝缘层 to reveal the PCB pads; for glass neon, use a glass cutter at pre-sealed points and smooth edges with sandpaper.
Phase 3: Connecting Components
Plug-and-Play Assembly: Snap the connector onto the stripped strip ends until a secure click is heard; verify alignment to avoid contact misfires.
Power Integration: Connect the strip to the power source (battery pack, USB adapter, or wall plug), ensuring correct polarity (match "+" and "-" markings).
Phase 4: Mounting & Securing
Adhesive Installation: Remove the adhesive backing film and press the strip firmly onto the surface, starting from one end to prevent air bubbles.
Mechanical Reinforcement: For outdoor or heavy strips, use plastic clips or brackets every 12–18 inches, especially around corners or high-vibration areas.
Phase 5: Testing & Refinement
Power Test: Activate the power source to check for uniform illumination; troubleshoot loose connectors or misaligned cuts.
Aesthetic Adjustments: Reposition the strip within 10 minutes of installation (while adhesive is still malleable) for perfect alignment.
Inspirational DIY Applications
Residential Design: Transforming Living Spaces
Kitchen & Dining
Under-Cabinet Task Lighting: Cut strips to fit kitchen cabinet undersides, using right-angle connectors for seamless corner navigation.
Dining Ambiance: Create removable neon table runners for special events, powered by wireless battery packs for cable-free elegance.
Bedroom & Living Areas
Headboard Accents: Wrap cuttable strips around wooden or upholstered headboards for soft, ambient backlighting.
Artwork Enhancement: Install single-color strips behind framed art or mirrors to create gallery-like displays with minimal effort.
Bathroom & Outdoor
Vanity Mirror Lighting: Waterproof LED strips cut to fit bathroom mirrors, with IP65 connectors resisting humidity and splashes.
Patio String Lights: Connect multiple cut segments to craft custom-length neon garlands, secured with zip ties to pergolas or fences for outdoor gatherings.
Commercial & Small Business: Budget-Friendly Branding
Retail & E-commerce
Window Signage: Cut strips to spell out store names or slogans, mounting on acrylic backboards for a polished, professional look.
Shelving Displays: Highlight merchandise with adjustable-length strips, enhancing product visibility in retail or pop-up shops.
Hospitality & Events
Cafe Menu Boards: Outline chalkboards or digital menus with cuttable strips, using brand colors to reinforce visual identity.
Event Decor: Build temporary neon installations for weddings or trade shows, easily disassembled and reused.
Crafts & Personal Projects
Festive Decor: Cut strips into holiday shapes (e.g., snowflakes, pumpkins) for seasonal displays, powered by USB for portability.
Personalized Gifts: Create custom neon nameplates or quote art for friends, using battery packs for desk or wall mounting.
Selecting the Right Strips: A DIYer’s Guide
Material & Environment Matching
Indoor Use: Choose PVC-encased LED strips for affordability or glass neon for authentic vintage appeal.
Outdoor Use: Opt for silicone-encased LED strips with IP65+ ratings, ensuring waterproof connectors for rain or humidity.
Connector & Tool Preferences
Beginner-Friendly: Prioritize snap-fit, tool-free connectors for quick projects.
Permanent Installs: Soldered connectors offer maximum reliability for long-term setups (requires basic soldering skills).
Power Source Compatibility
Portable Setups: Battery-powered or USB strips for crafts, events, or outdoor use without grid access.
Fixed Installs: AC-to-DC adapters for consistent power in home or commercial settings.
Safety & Compliance
Certifications: Look for CE, RoHS, or UL listings to ensure low-voltage safety and eco-friendly materials.
Waterproof Ratings: IP65 for splash-resistant areas (e.g., bathrooms), IP68 for fully submerged use (e.g., pool lighting).
Supplier Evaluation
Customer Feedback: Review ratings for adhesive strength, connector durability, and cut-point clarity.
Sample Kits: Test small DIY kits to evaluate ease of use before committing to large projects.
Overcoming Common DIY Hurdles
Challenge 1: Adhesive Failure on Textured Surfaces
Root Cause: Rough surfaces like brick or concrete reduce adhesive effectiveness.
DIY Solution: Use dual-lock mounting tape or plastic clips alongside adhesive for secure attachment, spacing clips every 6 inches for heavy strips.
Challenge 2: Inconsistent Light Output After Cutting
Root Cause: Off-cut-point trimming or loose connectors disrupting current flow.
DIY Solution: Re-cut at marked intervals and re-seat connectors, ensuring metal contacts fully engage with PCB pads.
Challenge 3: Difficulty Shaping Stiff Strips
Root Cause: Cold temperatures or rigid materials limiting flexibility.
DIY Solution: Gently warm silicone LED strips with a hairdryer (low heat setting) to enhance malleability before shaping around curves.
Challenge 4: Outdoor Fading or Degradation
Root Cause: UV exposure breaking down materials over time.
DIY Solution: Choose strips with UV-resistant coatings and position them away from direct sunlight; apply clear protective sealant on connectors for added durability.
Emerging Trends in DIY Cuttable Neon Strips
Smart Integration for Connected Projects
Bluetooth-Enabled Controllers: DIY kits now include apps for wireless color adjustment, brightness control, and scene scheduling.
Voice-Activated Systems: Compatibility with Alexa or Google Assistant, allowing hands-free operation in smart home setups.
Sustainable Innovations
Eco-Materials: Strips made with recycled silicone and PVC, paired with energy-efficient LEDs that reduce power consumption by 30%.
Solar Compatibility: Kits including solar panels and rechargeable batteries, ideal for off-grid outdoor projects.
Micro-Design Advancements
Ultra-Precise Cut Points: 1mm intervals for intricate designs in model making, jewelry boxes, or miniature displays.
Foldable Connectors: Allowing 3D installations on multi-surface objects like curved furniture or cylindrical structures.
AR-Powered Installation Aids
Augmented Reality Apps: Visualize strip placement in real-time via smartphone cameras, minimizing measurement errors in complex layouts.
Conclusion: Redefining DIY Lighting with Ease and Creativity
Easy-install cuttable neon strips have revolutionized the way we approach lighting design, putting professional-grade results within reach of every DIY enthusiast. By prioritizing user-friendly engineering, safety, and customization, these strips empower individuals to transform spaces with minimal effort, whether enhancing home decor, launching a business display, or crafting unique gifts.
As the DIY movement continues to thrive, these fixtures stand as a testament to innovation meeting practicality. By selecting the right materials, following best practices, and embracing emerging technologies, anyone can unlock the full potential of cuttable neon strips—turning creative visions into illuminated realities, one effortless installation at a time.